Painting the brake calipers took about 5-6 hours. I spent about 2 hours prepping
(taking the wheels off, removing the brake pad housing, cleaning the surfaces that
were going to be painted, and taping/covering everything that I didn't want painted),
and 3 or 4 hours painting and waiting for coats to dry. The weather was kind of chilly
to be painting (in the 50s), so the coats tooks a while. I ended up with about 6 coats
of Hammerite Smooth Bright Red (spray). This cost $5 at Home Depot and the paint is
really nice. This paint also doesn't require a primer coat.
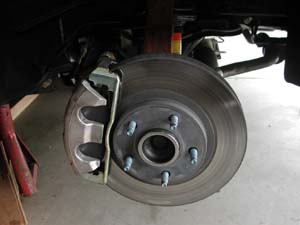
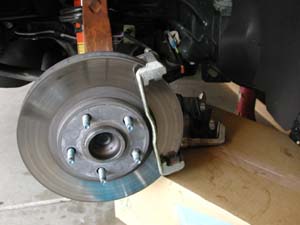
| Before shot of the calipers. The front calipers are 2 piston.
|
|
| You can see the 'arm' (I don't know what the real name is) behind the brakes
was already rusting bad. This was only after 1500 miles of fair weather driving!
|
|
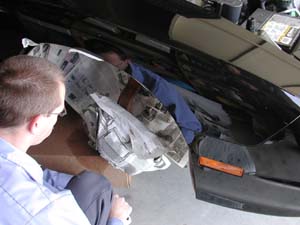
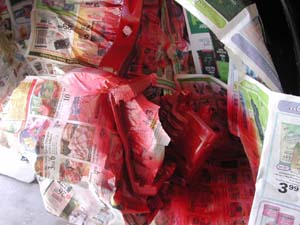
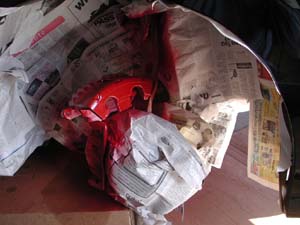
| Make sure you cover everything very well. It takes a while, but it is worth it.
I cleaned the calipers before I started covering and then gave them a second-over
once I got the paper in place.
|
|
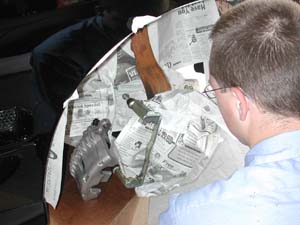
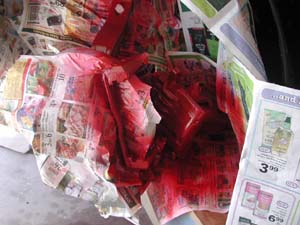
| Here I finished covering everything and am getting ready to paint.
Side note: next time I will use a better section of the newspaper to cover with.
While I was waiting for the paint to dry I was stuck with the personals from the
SF Bay Area, which is more like 'Freaks-on-Parade meet Mail-Order-Brides'
|
|
| The hardest part was getting the calipers painted from all of the different
angles that could be seen. The Hammerite Paint has some nasty chemicals in it, so you
definately need adequate ventilation. I closed the garage to spray, but after 4 calipers
I was dying. I had a cough for the rest of the day.
|
|
| The paint looks dark when it is wet, but the color gets brighter when it dries.
The first couple of coats were very light, and I could still see the color of the metal
and markings behind them, but after the 4th and 5th coats, it really started to look good.
|
|
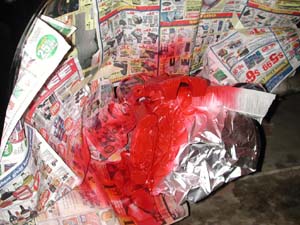
| Aliuminum foil is much easier to use than newspaper for wrapping, and it comes
off nicer too.
|
|
| I was surprised to see how much paint film was on the car after I finished.
Luckily I had a couple coats of Zaino on it so I just wiped the car down with a
dry towel - the whole thing has a pink film that I couldn't see, but became apparent
when I wiped it down!
|
|
| Wrapping things up
|
|
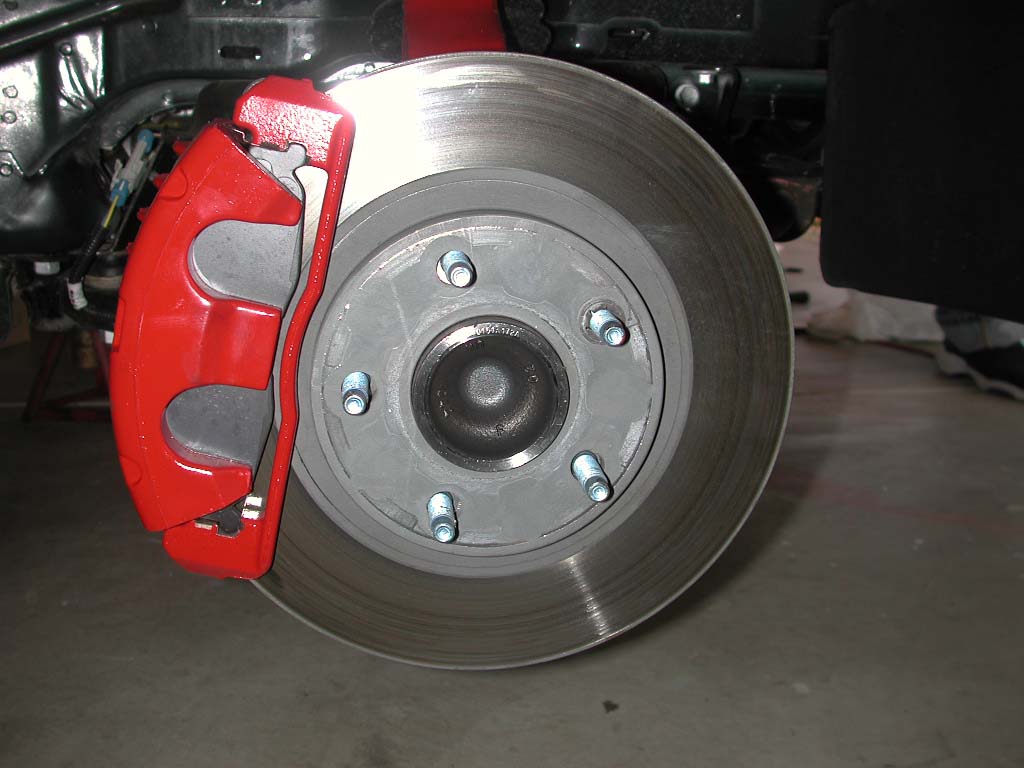
| Here is what the finished products looks like. I am very pleased with the results.
The red is a very good red - I wanted a Ferrari red, but wanted a good paint even
more. I think I found the best paint and a very good red.
|
|
| You can see that I painted that 'arm' as well because looking at that rusty piece
took away from the wheelwells. When the car gets lowered this shouldn't be an issue,
but with the factory 4x4 stance, you can make out the top of the arm easily.
|
|
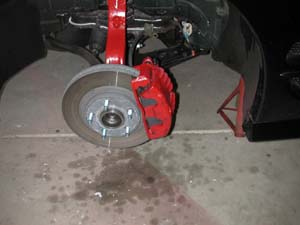
| A shot of the rear caliper. These things are tiny! I was surprised to
see the single piston also.
|

|
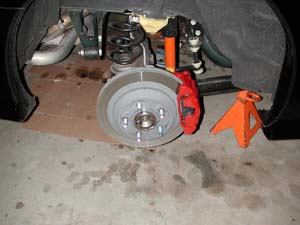
| The other one.
|
|


