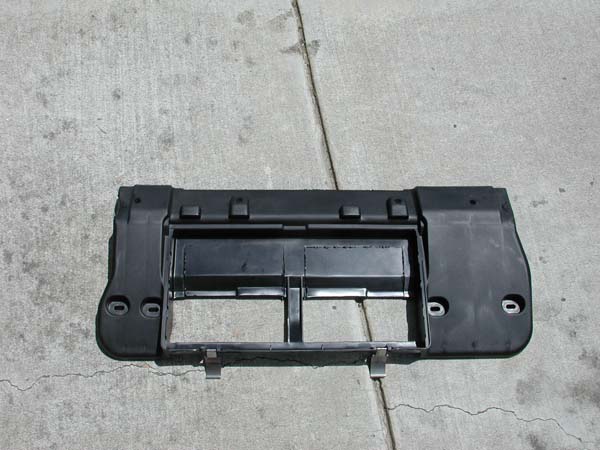
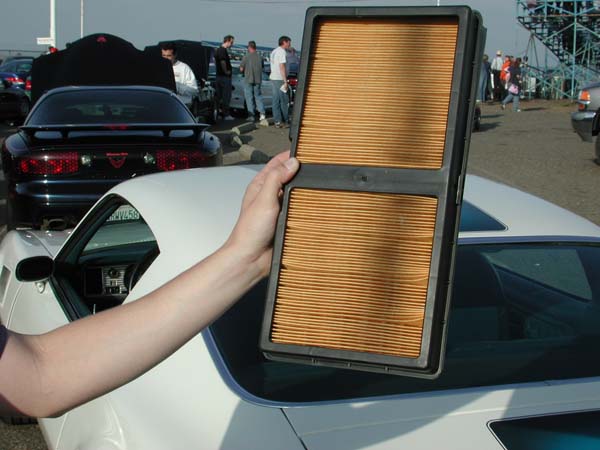
| Start off by taking the airbox out of the car. This will be cut very similar to
the Free Ram Air Mod.
You can refer to those instructions for specifics. A 5/8" lip should be left in the
box so the plate mounting brackets and insulation has a place to attach.
|
|
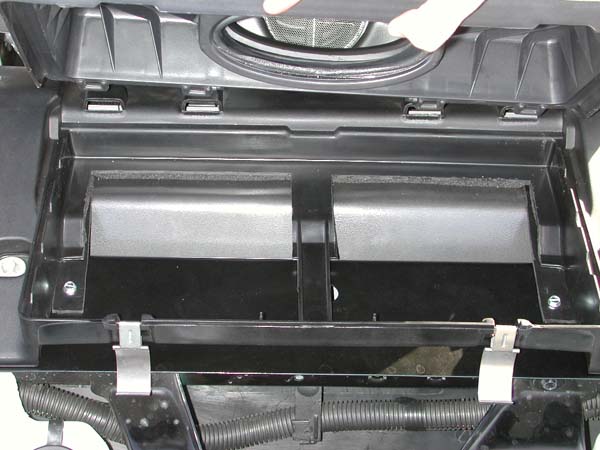
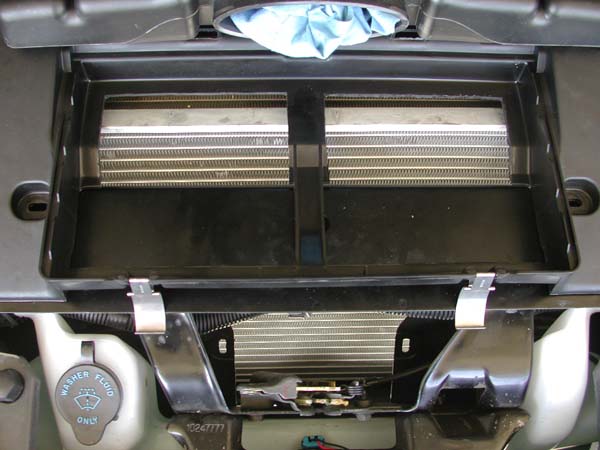
| This is what the airbox should look like after the cuts are made.
|
|
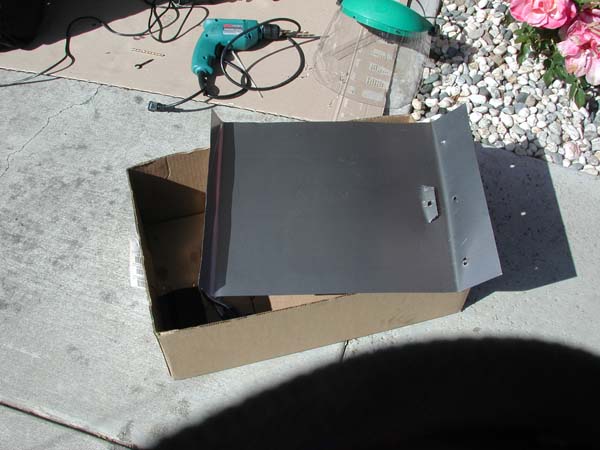
| Next the plate is cut from a piece of 24"x24" sheet metal and painted with
Rustoleum. Notice the little flap in the center on the right. This mounts behind a
bumper brace. The 3 holes on the right will mount behind the plastic air dam
under the bumper.
|
|
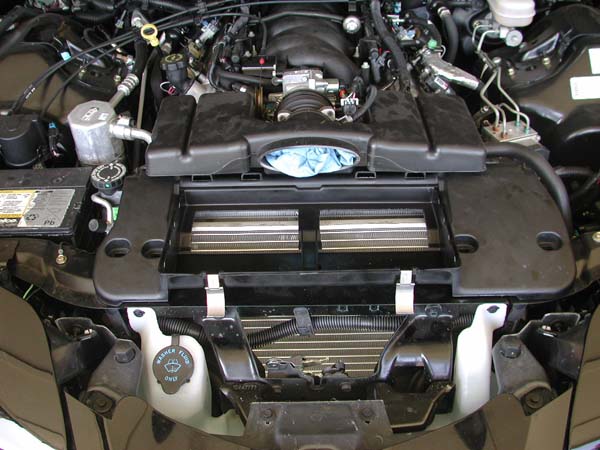
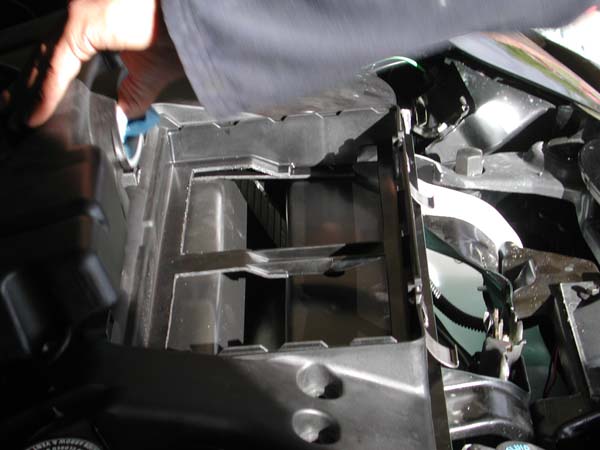
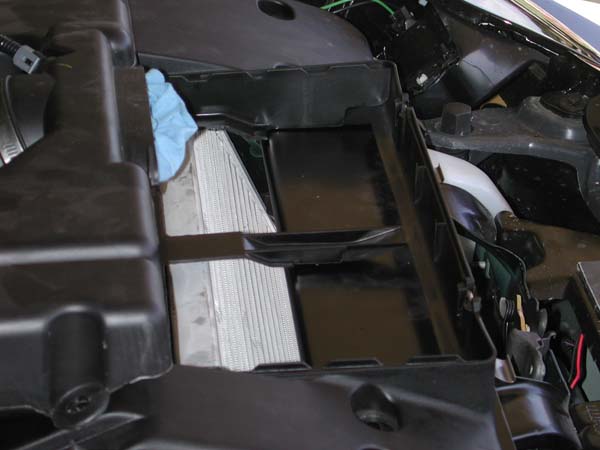
| The flimsy plastic sheets of plastic need to be removed from the front of
the AC condensor/radiator so the plate can be inserted. I don't have any pictures
of this, but there are directions at the Fast Toys Ram Air Kit
site. Download and print these out - they are very helpful. Here is a picture of the airbox without the plate installed. You can
see the radiator in 3 places which would normally be covered with a thin black plastic.
This needs to be reintalled after the plate is put in.
|
|
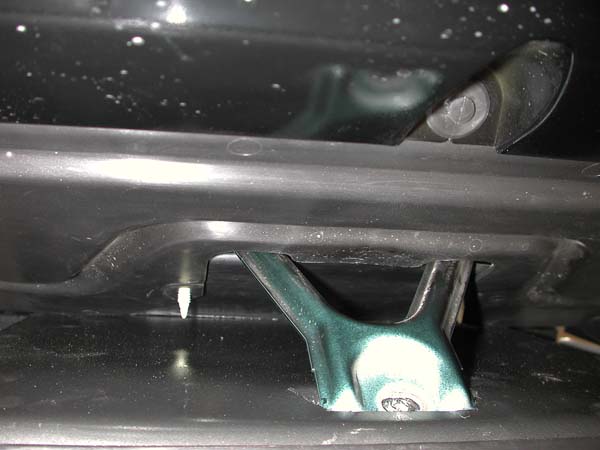
| After removing the plastic airdam, airbox/lid, and radiator cover, you are ready to
drop the plate in and mount it. There are 2 brakets at the top of the plate that
attach to the frame under the airbox. You can see the 2 silver sheet metal screws in
this picture - drill a pilot hole for both of these. You can also see the
weatherstripping that has been applied over these brackets to seal up the bottom of
the airbox.
|
|
| Here is a shot looking up at the radiator which is covered with the new plate. You can
see the cutout flap and how the bumper brace attaches through the plate.
|
|
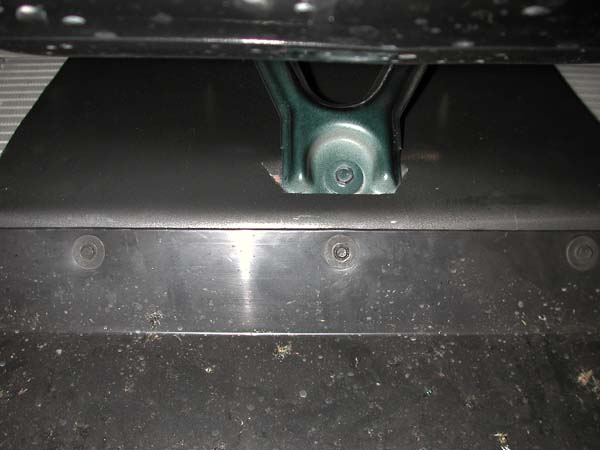
| Another shot from the bottom, you can see how the plate uses the existing mounting
points of the plastic airdam. The stage 2 plate that is in the works will use these
points as well, but will be easy to install and remove because it is a drag-only item.
The purpose of the stage 2 is to make the transition from the airdam to the plate
smoother, and to extend the collector lower for better air collection.
|
|
| Here we see the airbox installed with the plate in. You can see how much air can come up
from the bottom with the plate.
|
|
| Proof that lots of air comes up from the plate. This picture was taken after 200 miles
of driving with the new plate. That black line is where airbox holes were cut. Obviously,
I am using the stock filter here with the restictive lid and 'air bellows/muffler' still...
MTI holds the record for taking a week to process an order before shipping it (clear lid).
Maybe I'll get it someday.
|
|
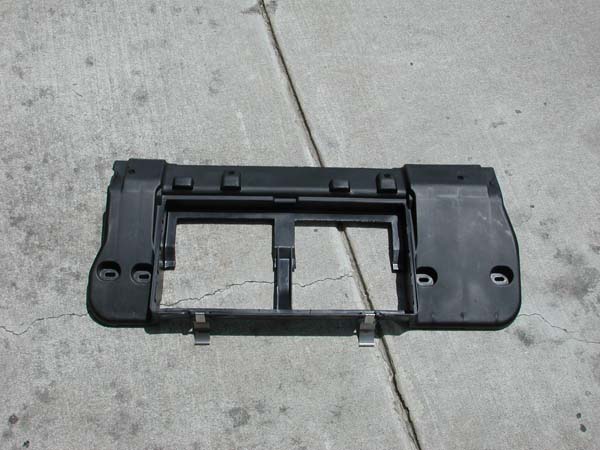
| Here is another shot of the box without the plate.
|
|
| Yet another shot.
|
|
Check out my drag times 


